Filipino Chicken Adobo
Tender braised chicken meets a tangy, salty glaze. This one-pot wonder is the ultimate expression of home cooking. Perfect for busy weeknights or slow Sundays.
- Elena Brooks
- Comfort Food Classics
- September 4, 2026
- 4 min read
- Updated November 20, 2026
- Total time
- 50 min
- Servings
- 4 Servings
- Difficulty:
- Easy
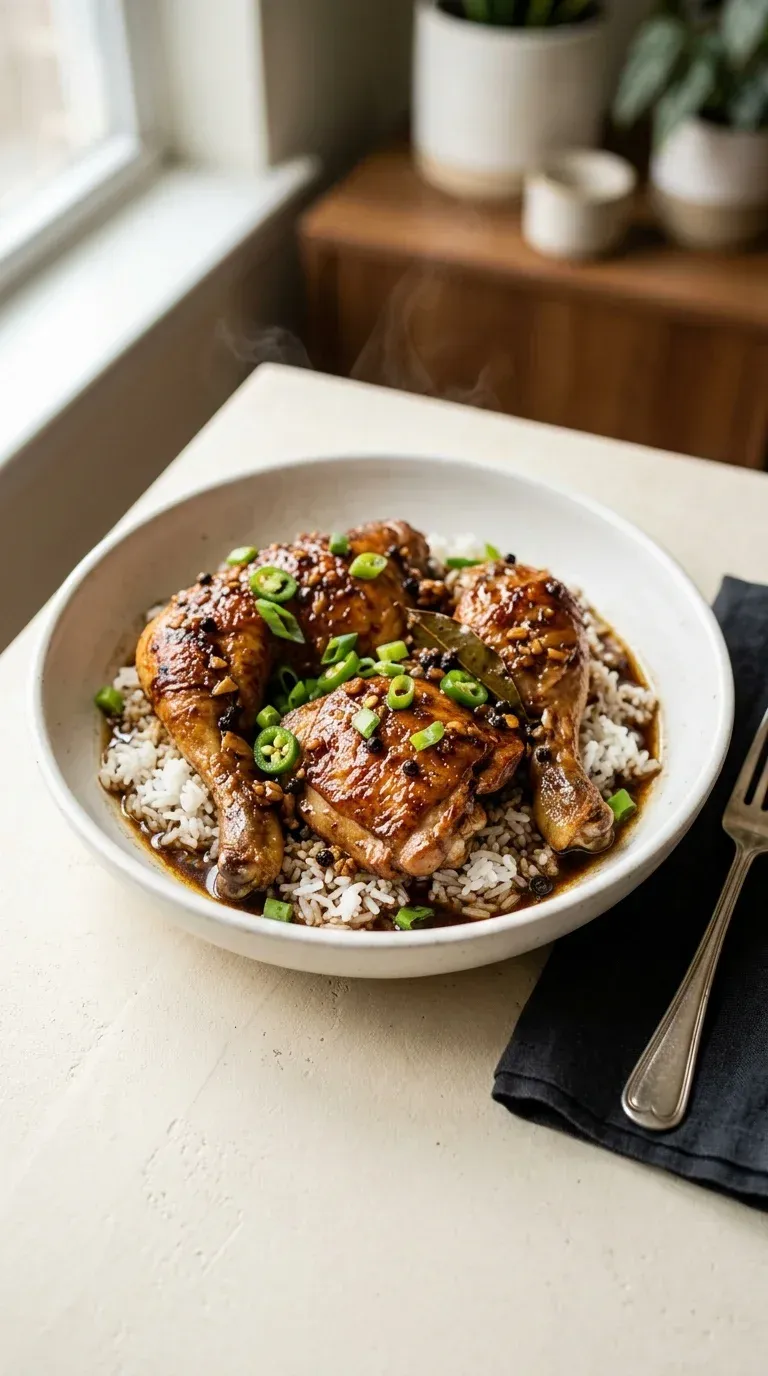
Table of contents
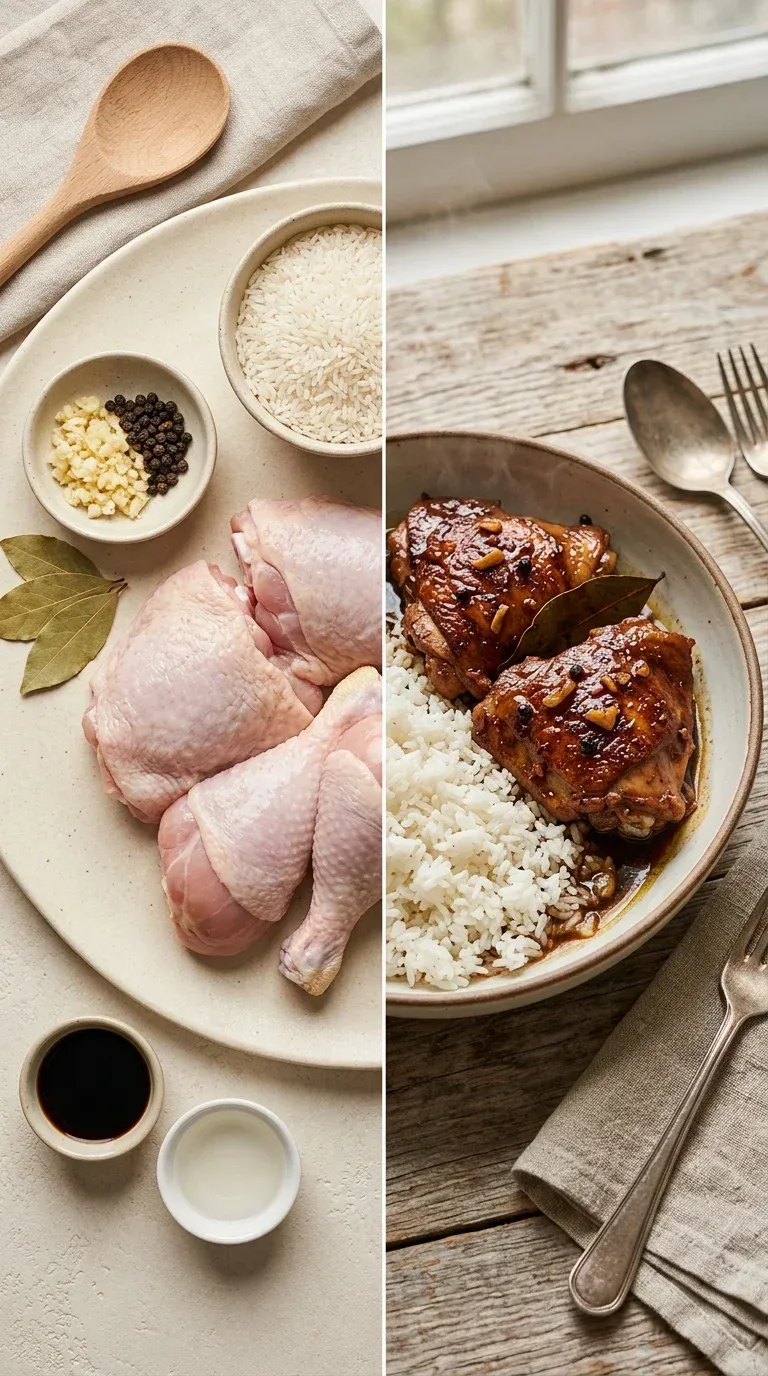
Well, there is just something about the smell of garlic and vinegar hitting a hot pan that makes the whole house feel... settled, you know? I remember when I first started making this for my family; I was always so nervous about getting that balance of salty and sour just right. But honestly, that's the beauty of it. You just let it simmer away, and the kitchen fills up with this wonderful, heavy scent that tells everyone dinner is almost ready.
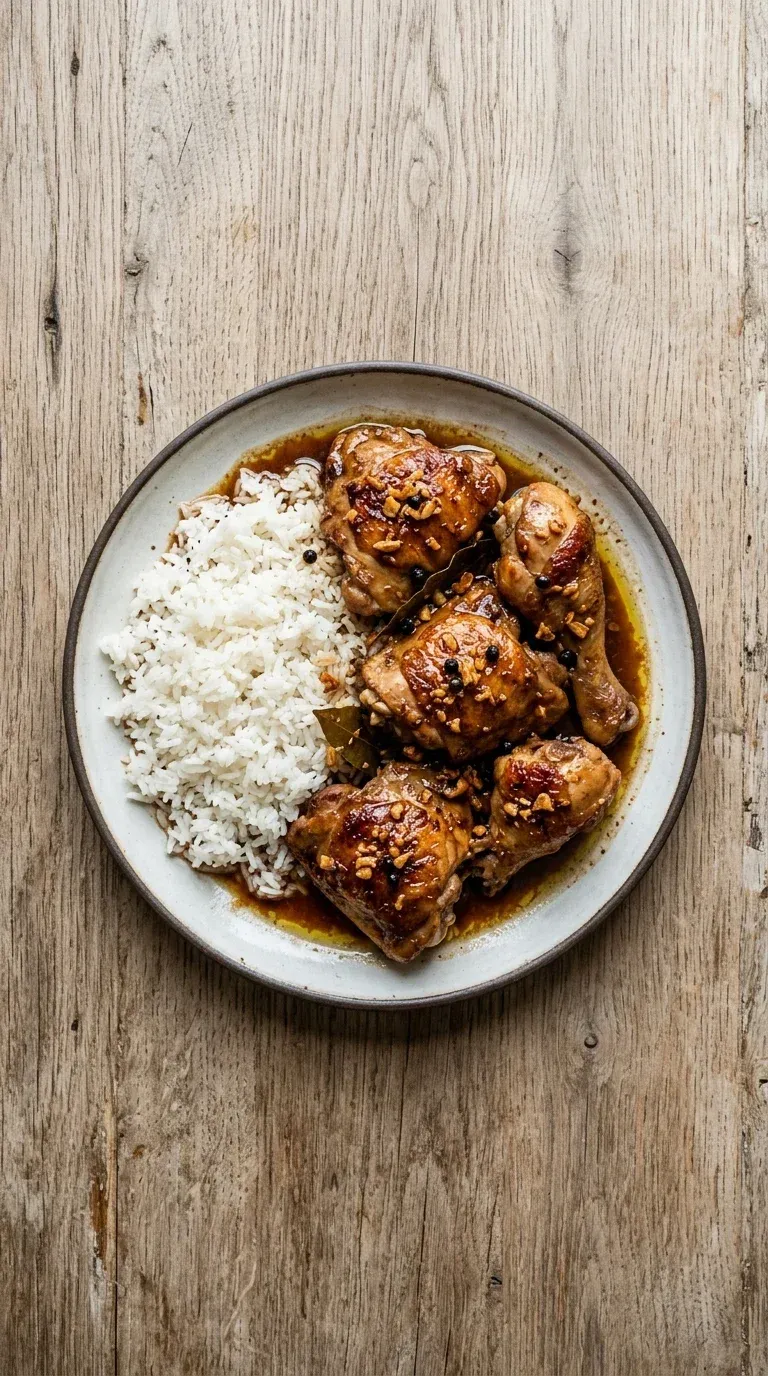
So, for this Filipino chicken adobo, I like to use chicken thighs or whole chicken cut into 8 pieces because they just stay so juicy. It's a slow process, really, but look, that's the point. Watching the soy sauce and vinegar bubble down into a glossy glaze is almost meditative. It's not fancy, but dang, it's exactly what you want when the day has been a bit too long.
Yeah, it's a simple meal, but it carries so much warmth. Whether you add that little bit of brown sugar for a hint of sweetness or keep it sharp, it's a dish that just feels honest. I mean, who doesn't love a meal that tastes even better the next day?
The story behind it
Filipino chicken adobo is more than just a meal; it is a reflection of the Philippines' complex history and its ingenuity in food preservation. Long before refrigeration, the indigenous people of the islands used vinegar and salt to preserve meats in the tropical heat. This ancestral practice created a tangy base that would later be transformed when Spanish colonizers arrived and named the process "adobo," after the Spanish word for marinade.
Over time, the introduction of soy sauce from Chinese traders added a deep, salty dimension and a rich color to the dish, evolving it into the beloved Filipino chicken adobo known today. Each household often has its own secret ratio of vinegar to soy sauce, making it a personal family legacy passed down through generations.
This braising technique ensures that the chicken is infused with the sharp acidity of the vinegar and the savory depth of the soy sauce. It is a dish that embodies the spirit of resilience and adaptation, turning a necessity of preservation into a national treasure of comfort food.
Why You'll Love It
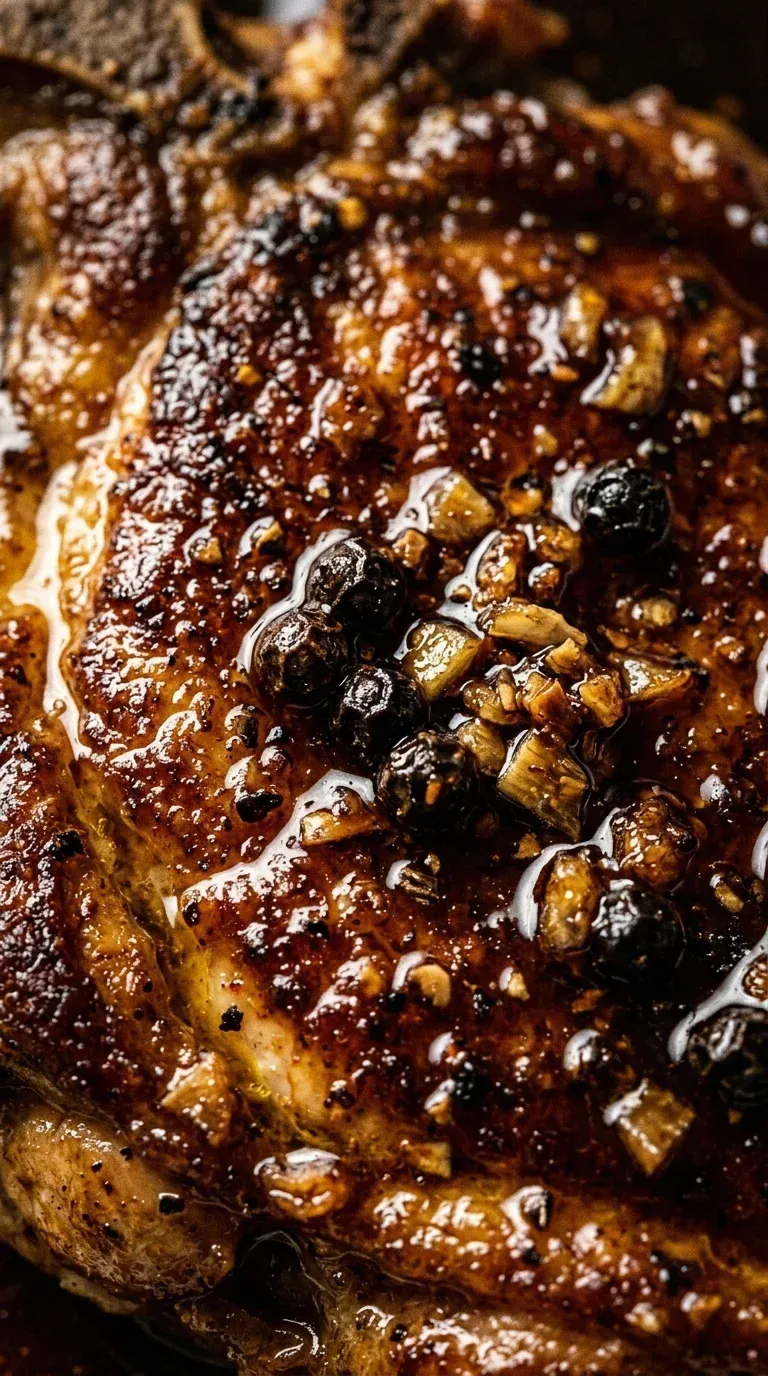
- Honestly, it's just pure comfort in a bowl, with that glossy sauce clinging to the tender chicken. It reminds me of slow Sunday afternoons in the kitchen.
- The balance of tangy and salty is just... wow. It's one of those meals that feels like a warm hug after a long, tiring day.
- It's so simple to put together, really. No fancy techniques, just a few pantry staples and some patience while it simmers.
- I mean, the way the aroma of garlic and bay leaves fills the whole house? It's just heavenly, truly.
Tips for success
- Vinegar Choice, Use cane or white vinegar for the most authentic flavor profile.
- Reduction, Let the sauce reduce while simmering to concentrate the flavors and achieve a glossy sheen.
- Flavor Balance, If you prefer a milder taste, you can reduce the vinegar or skip the sugar.
Professional secrets
- Searing the chicken first creates a Maillard reaction that deepens the overall flavor of the braise.
- The 'resting' period after cooking allows the juices to redistribute within the meat.
- Pan-frying the chicken after braising provides a contrast in texture between the tender meat and crispy skin.
Common mistakes to avoid
- Burning the garlic at the start, which makes the whole sauce taste bitter.
- Boiling the sauce too vigorously, which can make the chicken tough.
- Adding salt too early before the soy sauce has had a chance to season the meat.
Substitutions
- Cane vinegar: Apple cider vinegar. A bit fruitier, but still works well for the tang.
- Chicken thighs: Chicken breast. Be careful not to overcook, as breasts dry out faster than thighs.
- Chicken broth: Water. Broth adds more depth, but water is a perfectly fine pantry staple.
Variations
- Coconut Milk Chicken Adobo: For a creamy, tropical twist, stir in 1 cup of coconut milk after the 30-minute simmer and reduce until thickened.
- Spicy Chickpea Chicken Adobo: Add a bit of heartiness by folding in a can of drained chickpeas and a pinch of crushed red pepper during step 3.
Storage
Keep it refrigerated for up to 2 days, though it's best within 24 hours. You can also freeze it for up to 3 months.
Make ahead
This dish is actually wonderful made a day in advance, as the flavors have more time to meld together in the fridge.
Leftovers
Store in a heat-resistant container in the fridge for 2 days. Reheat gently on the stovetop or in the microwave with a splash of water.
Serving ideas
- Serve over steamed jasmine or long‑grain rice with sautéed green beans.
- Garnish with sliced cucumber and a squeeze of lime to brighten the dish.
- Top with a soft‑fried egg for a rich, decadent brunch feel.
- Pair with a side of steamed cauliflower for a lighter meal.
Allergy information
Contains soy. Use a soy-free alternative if needed.
Filipino Chicken Adobo
Tender braised chicken meets a tangy, salty glaze. This one-pot wonder is the ultimate expression of home cooking. Perfect for busy weeknights or slow Sundays.
- Prep time
- 15 min
- Cook time
- 35 min
- Total time
- 50 min
- Difficulty
- Easy
- Cuisine
- Filipino
Ingredients
Main Ingredients
Braising Sauce
Instructions
- 1
Start by heating those 2 Tbsp vegetable oil in your large skillet or dutch oven over medium heat. Once it's shimmering, toss in the minced garlic and sauté it just until it's golden brown and smelling wonderful—usually takes about 1 minute. Honestly, don't let it burn, just get it fragrant.
- 2
Carefully add your chicken pieces to the pan. I like to sear each side until they're lightly browned, which takes about 5 minutes total. It gives the meat such a lovely depth.
- 3
Now, pour in the soy sauce, vinegar, and water (or broth). Go ahead and tuck in the bay leaves and peppercorns. Give everything a good stir so the chicken is well coated in all those bold liquids.
- 4
Bring the whole mixture to a gentle boil, then turn the heat down to low. Cover the pan and let it simmer quietly for 30–35 minutes. You're looking for the chicken to be tender and the sauce to thicken up just a bit.
- 5
Take a little taste of the sauce and add salt if you think it needs it. Well, if you're in the mood for a sweeter note, this is the perfect time to stir in that 1 tbsp brown sugar.
- 6
If you're craving a thicker, glossy glaze, just remove the lid and keep simmering on low for another 5–8 minutes. It's just a matter of when it looks right to you.
- 7
Give the chicken one final stir. I mean, you really want every single piece to be hugged by that beautiful glossy sauce.
- 8
Turn off the heat and let the dish rest for a minute—patience is key here. Then, carefully transfer it to your serving platter.
- 9
If you have them, garnish with sliced scallions or a tiny drizzle of sesame oil. Serve it immediately over some warm, steamed white or brown rice.
- 10
Oops, almost forgot! For those who love a bit of crunch, you can briefly pan‑fry the braised chicken pieces in a hot skillet for about 2 minutes per side until the skin is crisp.
Nutrition per serving
- 410 kcal
- Calories
- 38 g
- Protein
- 12 g
- Carbs
- 22 g
- Fat
Tips & notes
- The sauce reduction is what gives this dish its signature glossy look. - Using a higher-acid vinegar is the secret to that authentic Filipino tang. - The brown sugar is optional; it's really just a preference for how sweet you like your adobo.
Frequently asked questions
Can I use a different kind of vinegar if I don't have cane vinegar?
Yeah, white vinegar works just fine! It's still got that sharp tang we need, even if it's not quite as traditional.
What if my sauce is too thin at the end?
Oh, don't worry, just leave the lid off and simmer it for another 5–8 minutes. It'll thicken right up into a beautiful glaze.
How do I store the leftovers?
Just pop them in a heat‑resistant container in the fridge for up to 2 days. It actually tastes even better the next day, honestly.