No Bake Cheesecake Parfait with Cherry Pie Filling
No oven, no fuss, just pure indulgence. Layered textures of buttery graham cracker crumbs and velvet cream. A quick dessert that tastes like a celebration.
- Lucas Moreno
- Sweet Bakes & Desserts
- August 8, 2026
- 4 min read
- Updated November 20, 2026
- Total time
- 15 min
- Servings
- 4 Servings
- Difficulty:
- Easy
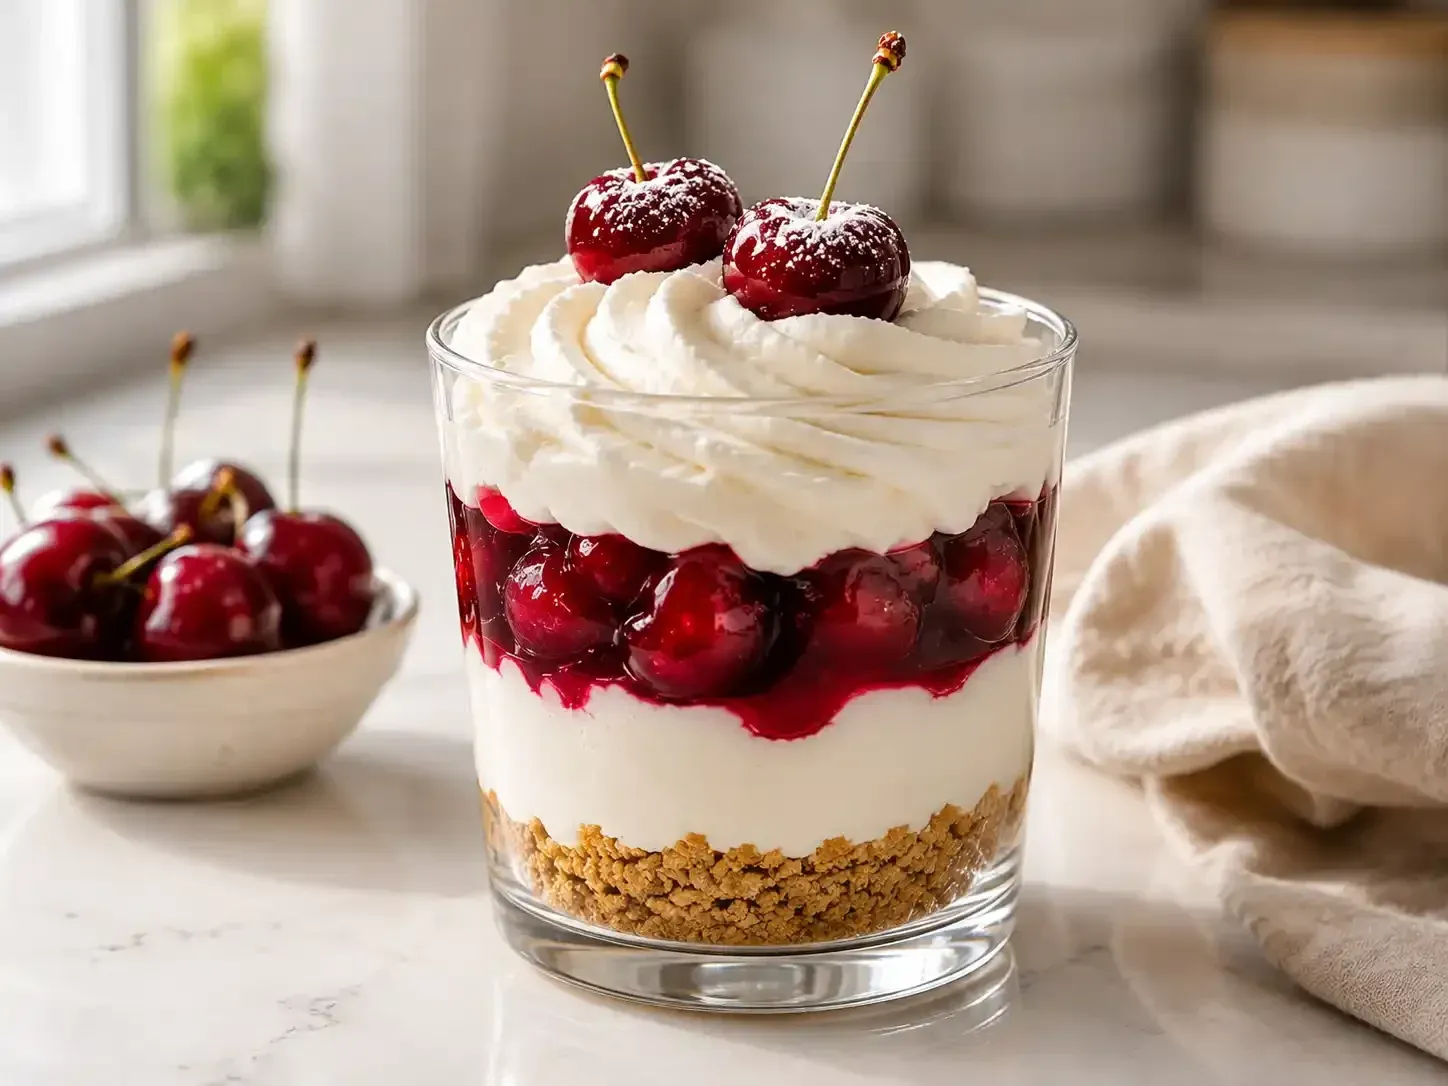
Table of contents
Well, look, there are some days where the thought of turning on the oven just feels like too much, you know? I remember when I first started making these; it was a humid July afternoon, and the kitchen felt way too small for a baking sheet. I just wanted something cold and sweet, and honestly, this no bake cheesecake parfait with cherry pie filling was the answer.
There is something so soothing about the sound of the hand mixer whirring and the smell of vanilla extract filling the air. I love the way the 8 oz cream, softened just right, blends into a cloud with the heavy whipping cream. It is just... quiet. Peaceful. And that first spoonful, where you get the crunch of the graham cracker crumbs and the zing of the 1 tablespoon lemon juice? Wow, it just hits the spot.
So, yeah, this isn't a fancy patisserie dessert. It is just a simple, honest treat. It is the kind of thing you make when you want to feel a little pampered without the hard work. I mean, who doesn't love a dessert that lets you spend more time on the porch and less time at the stove?
The story behind it
The art of the parfait, originating from the French word for "perfect," has long been a staple of elegant dessert presentation. While traditional cheesecakes have roots in ancient Greece and later evolved in New York, the no-bake variation emerged as a mid-century convenience, allowing home cooks to achieve a rich, creamy texture without the risk of a cracked surface from the oven.
Combining this velvety base with cherry pie filling draws from the classic American tradition of the cherry cheesecake, a flavor profile that balances the lactic tang of cheese with the deep, fruity acidity of stone fruits. This pairing became a cornerstone of potlucks and family gatherings throughout the 1960s and 70s, symbolizing a blend of sophistication and homey comfort.
Layering the dessert in a glass transforms a rustic favorite into a visual experience. By separating the components—the buttery crust, the whipped cream cheese, and the syrup-soaked cherries—each bite maintains its distinct identity, preserving the textural contrast that defines the experience of a no bake cheesecake parfait with cherry pie filling.
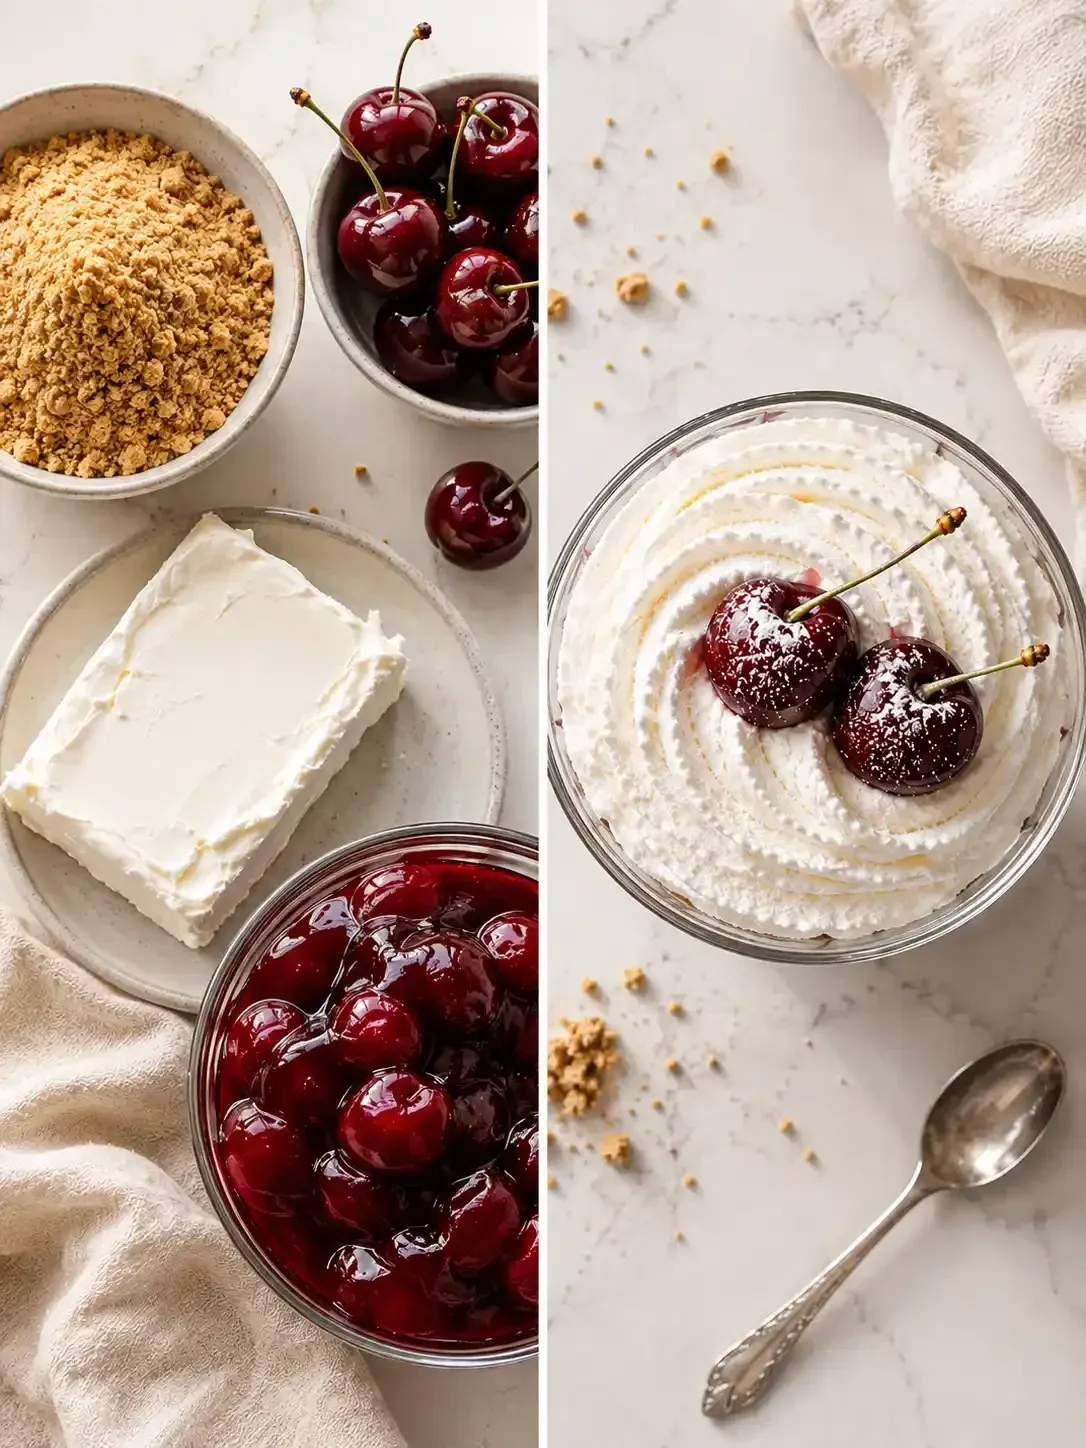
Why You'll Love It
- Honestly, there is something so comforting about a dessert that doesn't require an oven, just a little patience and a refrigerator.
- The way the tart cherry pie filling cuts through that rich, velvety cheesecake... well, it just reminds me of summer afternoons on the porch.
- I love that it looks so fancy in a glass, but it is actually quite simple to pull together, even if you are feeling a bit frazzled.
- It is just a little slice of heaven, really, with that buttery crunch from the graham cracker crumbs at the bottom.
Tips for success
- Temperature matters, Use room-temperature cream cheese to ease mixing and avoid lumps.
- Timing is key, Make the cheesecake layer just before chilling to keep the mixture cool and prevent it from softening too much.
- Flavor boost, If you prefer a stronger cherry flavor, fold a spoonful of cherry pie filling into the cheesecake mixture before layering.
Professional secrets
- Folding in the whipped cream separately preserves the aeration, giving you a mousse-like texture rather than a dense cake.
- Chilling the crust first prevents the moisture from the cheesecake filling from making the crumbs soggy.
- A touch of acidity from the lemon juice mimics the tang of a baked cheesecake without the oven.
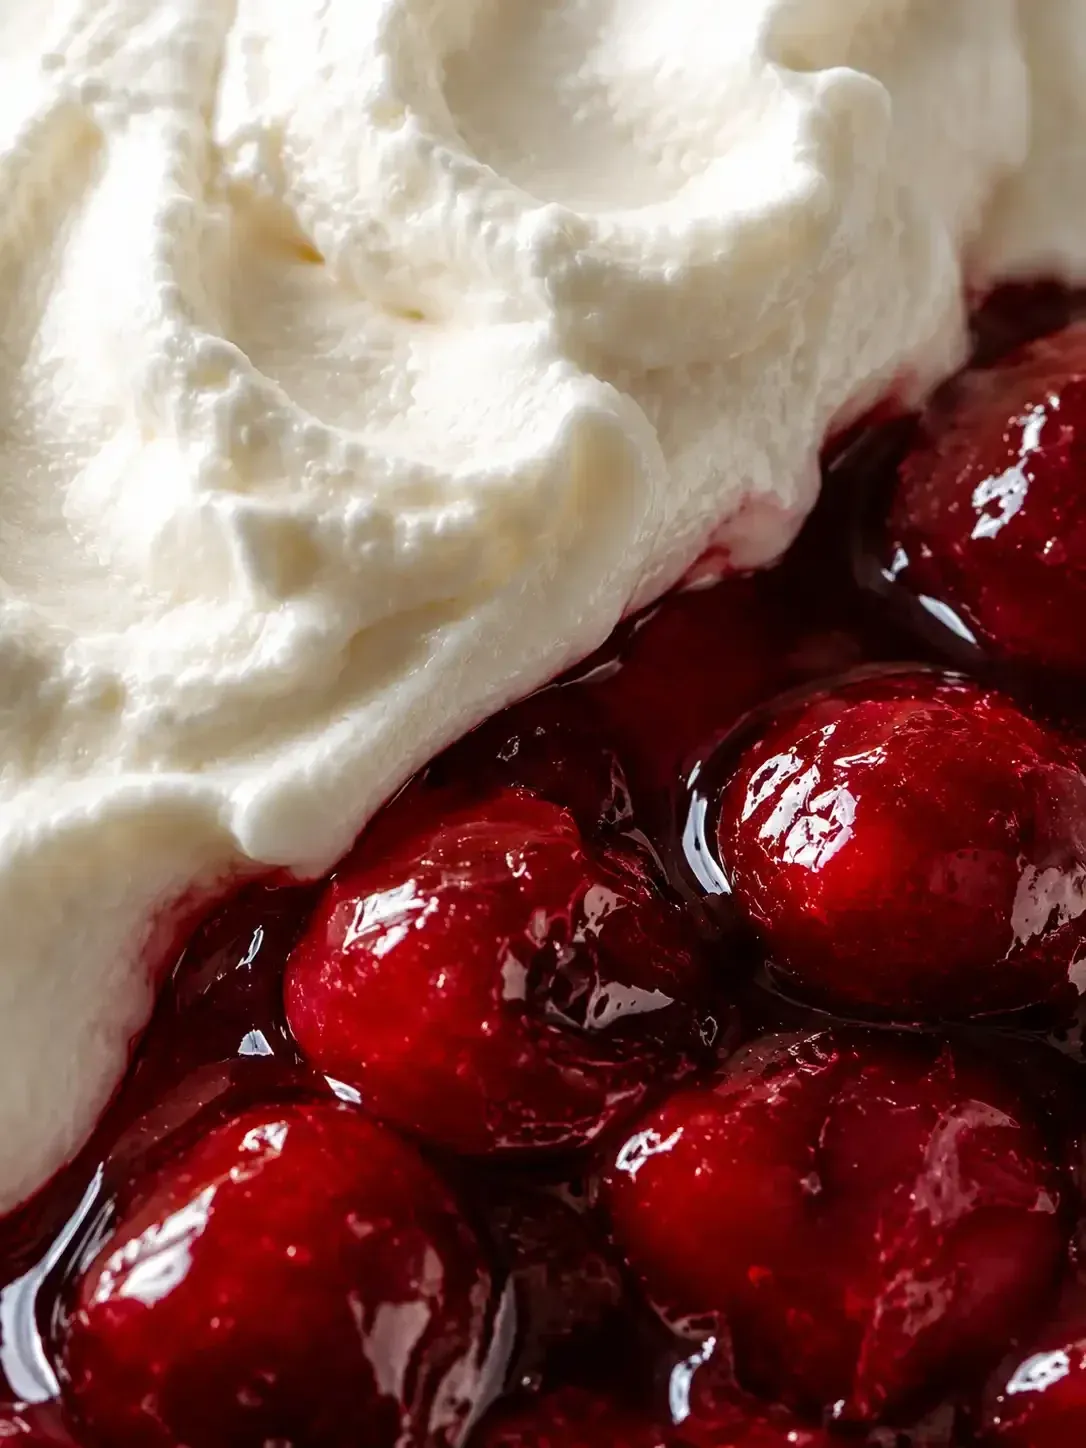
Common mistakes to avoid
- Using cold cream cheese, which leads to those annoying little lumps in the filling.
- Over-mixing the whipped cream into the cheese, which can deflate the airy texture.
- Skipping the chilling time, resulting in a parfait that's too soft to hold its layers.
Substitutions
- graham cracker crumbs: digestive biscuit crumbs. Adds a slightly saltier, heartier base.
- heavy whipping cream: stiffly whipped coconut cream. For a dairy-free alternative to the whipped layer.
Variations
- Lemon-Zest Cheesecake Parfait: Add 1 teaspoon lemon zest to the cheesecake mixture for a citrus kick that balances the sweetness of the cherries.
- Blueberry Pie Filling Parfait: Replace cherry pie filling with blueberry pie filling for a summertime twist and a burst of vibrant color.
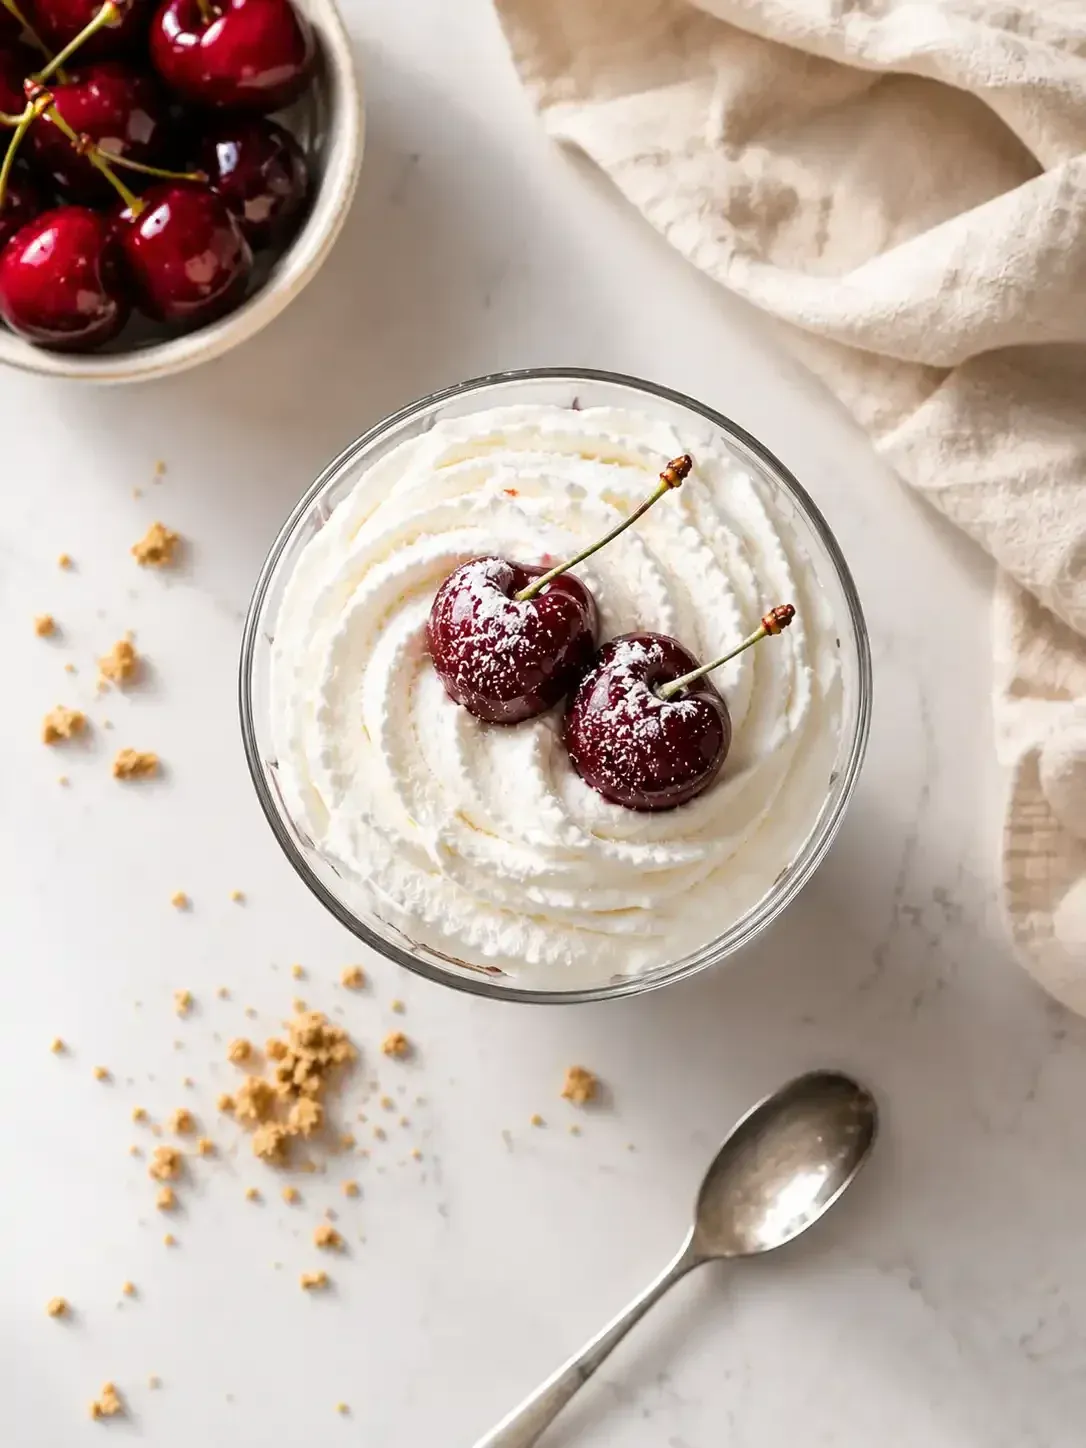
Storage
Keep them refrigerated until serving. For the freezer, wrap tightly in plastic wrap and foil for up to 2 weeks, then thaw in the fridge.
Make ahead
These are actually better when made ahead. You can assemble them the night before and let them set overnight in the fridge.
Leftovers
Store in the refrigerator with lids. If frozen, thaw slowly in the fridge to maintain the creamy texture.
Serving ideas
- Present in clear glassware so the layers are visually striking.
- Top with a dash of crushed pistachios for a pop of color and a bit of crunch.
- Add a sprig of fresh mint for a professional, fresh look.
- Drizzle with a little dark chocolate sauce for a decadent chocolate-cherry treat.
Allergy information
Contains dairy (cream cheese, butter, heavy cream) and gluten (graham crackers).
No Bake Cheesecake Parfait with Cherry Pie Filling
No oven, no fuss, just pure indulgence. Layered textures of buttery graham cracker crumbs and velvet cream. A quick dessert that tastes like a celebration.
- Prep time
- 15 min
- Total time
- 15 min
- Difficulty
- Easy
- Cuisine
- American
Ingredients
Crust
Cheesecake Filling
Whipped Cream Layer
Topping & Garnish
Instructions
- 1
Start by grabbing a bowl and combining your 1 1/2 cups graham cracker crumbs, 1/3 cup unsalted butter, melted, and 1 tablespoon granulated sugar. Give it a good mix until everything is evenly coated; honestly, it should look just like wet sand.
- 2
Now, gently press that crumb mixture into the bottom of each of your 4 dessert glasses. You just want a thin, even crust. Once that's done, pop them in the refrigerator to firm up while you work on the rest.
- 3
In a separate bowl, beat the 8 oz cream cheese, softened, until it's completely smooth. I mean, really make sure there are no lumps. Stir in the 1/2 cup powdered sugar and 1/2 teaspoon vanilla extract, beating it all together until it's fully incorporated.
- 4
Stir in 1 tablespoon lemon juice—it really brightens the whole thing up. Now, fold in your whipped cream mixture (which you'll whip separately using 1 cup heavy whipping cream, 2 tablespoons powdered sugar, and 1/2 teaspoon vanilla extract) until it's just combined. So light and fluffy!
- 5
Time to layer! Spoon about the first 1/3 of that cheesecake mixture over each crust and smooth the top with a spatula.
- 6
Spoon about 1/3 cup cherry pie filling over the cheesecake layer. I like to gently spread it to cover the top, but leave a little bit of a subtle swirl for a pretty look.
- 7
Just repeat those layers: another scoop of cheesecake, then more cherry filling, then cheesecake again, and one more cherry layer. Finish it all off with a final top layer of that lovely cheesecake mix.
- 8
Smooth the tops with a spatula so they look nice and even. To keep things fresh, seal the glasses with a lid or a bit of plastic wrap.
- 9
Let these sit in the refrigerator for at least 2 hours. Well, if you can wait, overnight is even better so they can set perfectly.
- 10
Right before you serve them, top each parfait with a few fresh cherries. If you're feeling fancy, a light drizzle of sour cream or a touch of caramel sauce is a wonderful little addition.
Nutrition per serving
- 520 kcal
- Calories
- 6 g
- Protein
- 48 g
- Carbs
- 34 g
- Fat
Tips & notes
- The lemon juice is a small detail, but it really cuts through the richness of the cream cheese. - Using clear glasses is almost a must here so you can see those beautiful red and white layers. - Don't rush the chilling time; the cheesecake needs those hours to hold its shape.
Frequently asked questions
Can I make these a day in advance?
Oh, absolutely. In fact, I prefer it! They actually set better if they sit in the fridge overnight.
What if my cheesecake mixture is too soft?
Ugh, it happens. Just pop the glasses in the fridge for a bit longer, or make sure your 1 cup heavy whipping cream was chilled well before beating.
Can I freeze these for later?
Yeah, you can! Just wrap them tightly in plastic wrap and foil for up to 2 weeks, then let them thaw slowly in the fridge.